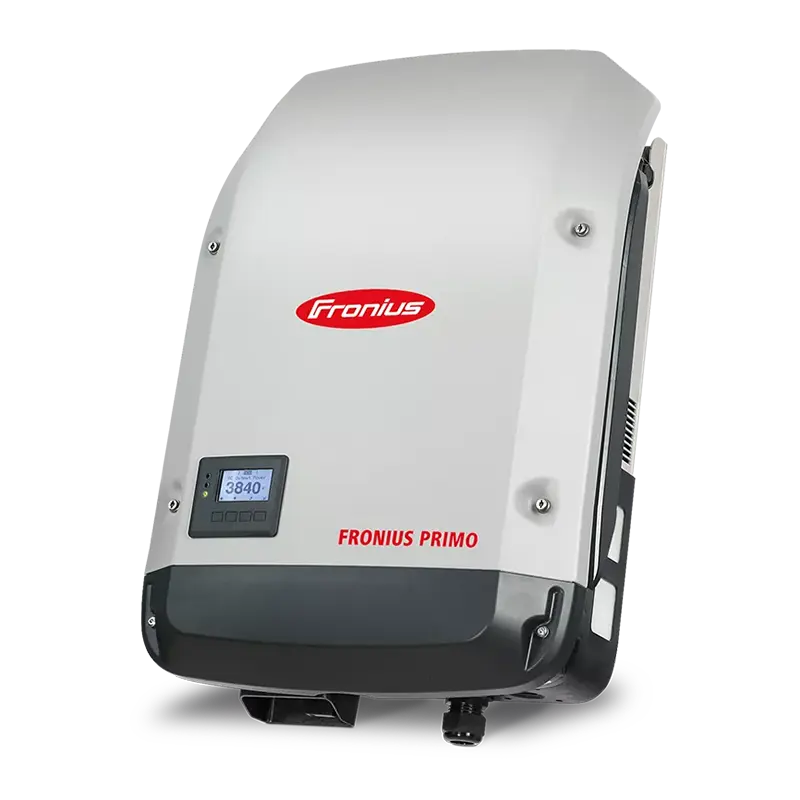
Fronius Inverter Wi-Fi Reconnect Guide
Fronius Primo/Symo Series
1. Prepare your setup
- Confirm your home Wi-Fi is working — test it by connecting with your phone or tablet.
- Keep a laptop or tablet nearby; the setup is easier on a larger screen.
- Changed internet provider, modem/router, Wi-Fi name (SSID) or password? You’ll need to reconnect the inverter with the updated details.
2. Activate the inverter’s WiFi access point
- On the inverter display, press the Back or Menu button to open the Setup menu.
- Navigate to Setup → Wi-Fi Access Point → Activate / Enable.
- The inverter starts broadcasting a network named FRONIUS_240.XXXXXX.
Tip: the default password is usually 12345678, unless your inverter label lists a different one or your installer set a unique password.
3. Connect your device to the inverter’s hotspot
- Open the Wi-Fi settings on your phone, tablet or laptop and select the network beginning with FRONIUS_240.
- Enter 12345678 (or the custom password provided for your inverter).
4. Access the inverter’s web interface
- Once connected to the hotspot, open a browser such as Chrome.
- In the address bar, type 192.168.250.181 and press Enter.
- When the Fronius web interface loads, log in using the Customer account (or Installer if required).
Don’t know your password? Your installer can provide it — if we installed your system, give our team a call.
5. Configure your home WiFi network in the inverter
- Go to Settings → Network (or Communication → Network, depending on your model).
- At the bottom of the Network Settings menu, select your home Wi-Fi network.
- Click Set.
- Enter your Wi-Fi password, then click Save or Apply.
- When prompted, confirm the new settings (look for the tick icon).
6. Verify the connection
- On the inverter display, go to Setup → Network → Status.
- Check that a valid IP address is shown — 0.0.0.0 means it isn’t connected yet.
- Log in to Fronius Solar.web and check that live data is updating.
7. Troubleshooting tips
- Weak Wi-Fi near the inverter? Move the router closer or add a Wi-Fi extender.
- Enter the Wi-Fi password exactly — capitals and special characters count.
- Still won’t connect? Start again from Step 2.
- Ongoing issues may need a firmware update or a hand from your installer or Fronius Support.
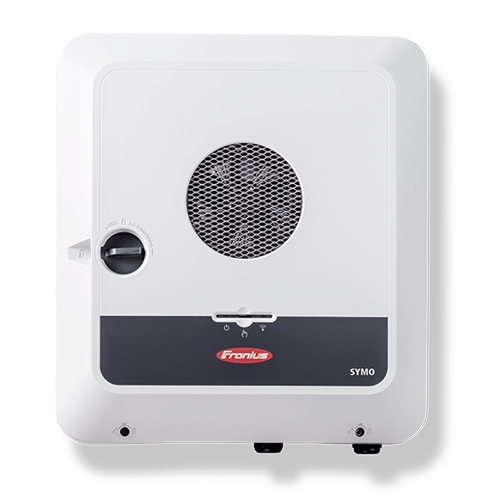
Fronius GEN24 and GEN24 Plus Series
1. Check your WiFi signal
- Stand near your inverter and check on your phone whether your home Wi-Fi network appears in the list.
- If it doesn’t appear, the signal is too weak — move the router closer or install a Wi-Fi extender.
- The inverter can only connect if it can detect your home Wi-Fi from where it’s mounted.
2. Try a power cycle first
If you haven’t changed internet providers, try restarting the inverter before touching the Wi-Fi settings.
- Turn the AC supply OFF at the main switch or inverter circuit breaker.
- Turn the DC supply OFF using the isolator beside the inverter.
- Wait until the inverter fully shuts down, then turn the DC back ON, followed by the AC.
- Once it restarts, look for a solid blue Wi-Fi light — that means it has reconnected.
If the blue light doesn’t appear, continue with the manual reconnect steps below.
3. Activate the inverter’s WiFi access point
- Press and hold the middle button on the inverter until the Wi-Fi indicator above the icon starts flashing.
- This switches on the inverter’s built-in Wi-Fi hotspot.
4. Connect your phone or tablet to the inverter's hotspot
- Open your device’s Wi-Fi settings and look for a network starting with FRONIUS_240.XXXXXX, then select it.
- Enter the default password 12345678.
- Wait until your device shows a tick or ‘connected’ before continuing.
5. Access the inverter’s web interface
- Open a browser such as Chrome or Safari.
- Type 192.168.250.181 into the address bar and press Enter.
- The inverter’s local interface will appear, showing the system bubbles and live data.
6. Log in to communication settings
- Tap the menu icon (the three horizontal lines) in the top-right corner.
- Select Communication.
- Choose Customer as the login role.
- Enter your customer password — your installer will have provided this after installation.
7. Configure your home WiFi network
- Open the menu again and select Network.
- Keep your phone connected to the Fronius Wi-Fi hotspot.
- In the middle section of the page, tap Wi-Fi — your available home networks will appear.
- Select your home Wi-Fi, enter the password and save the settings.
- Once connected, the inverter will switch across to your home Wi-Fi automatically.
8. Confirm connection
Wait a few moments and check the inverter’s Wi-Fi indicator:
- Solid blue light = connected to Wi-Fi
- Flashing light = still trying to connect
You can also confirm it by checking your live data on Fronius Solar.web.
9. Troubleshooting tips
- If no Wi-Fi networks appear, use a Wi-Fi extender or consider a hard-wired Ethernet connection.
- Double-check the Wi-Fi password — it is case-sensitive.
- Still stuck? Restart the unit and repeat from Step 3.
- For ongoing issues, contact your installer or Fronius Support.
What is a Fronius inverter — and how do I reconnect it to Wi-Fi?
What is a Fronius inverter — and why does it need Wi-Fi?
A Fronius inverter is the Austrian-made unit on your wall that converts the DC power from your solar panels into the 240V AC power your home uses. It also measures what your system produces and sends that data to the Fronius Solar.web app, so you can see your solar working in real time.
The inverter needs your home Wi-Fi to keep that monitoring live. If your app has stopped updating, nine times out of ten it isn’t a fault at all — it’s simply lost Wi-Fi after a new modem, a changed network name (SSID) or a new password. The step-by-step guides below walk you through reconnecting it yourself, for both the older Fronius Primo / Symo range and the newer Fronius GEN24 and GEN24 Plus range.
Quick answer: switch on the inverter’s own Wi-Fi hotspot (FRONIUS_240.XXXXXX), connect your phone to it, open 192.168.250.181 in a browser, then choose your home Wi-Fi network and enter the password. A solid blue Wi-Fi light or a valid IP address means you’re back online.
We’ve been installing and servicing Fronius inverters across Geelong, the Surf Coast and the Bellarine since 2011, with more than 1600 systems installed by our own in-house crews — no subcontractors. If you get stuck, a local team member can talk you through it on (03) 5243 8364.

Fronius Inverter Questions We Hear Most in Geelong
Is a Fronius inverter a good choice?
Fronius has been making inverters in Austria for decades and the Primo, Symo and GEN24 ranges are well proven on Australian roofs. They’re straightforward to monitor through Solar.web and well supported locally, which is why we’ve fitted plenty of them across Geelong, the Surf Coast and the Bellarine.
Why has my Fronius inverter stopped reporting to the app?
Almost always a Wi-Fi issue rather than a fault — a new modem, a changed network name or password, or a weak signal where the inverter is mounted. Follow the reconnect steps above for your model. The panels usually keep producing normally the whole time; it’s only the monitoring that drops out.
Can I add a battery to an existing Fronius system?
Yes — in most cases a battery can be added alongside your existing Fronius solar without replacing the panels. We regularly retrofit batteries such as SigenStor, Tesla Powerwall and BYD to homes that already have solar, and our own in-house crews handle the whole install.
Who can help if I can’t get it reconnected?
Give our local team a call on (03) 5243 8364. We’ve been installing since 2011 with 1600+ systems completed by our own crews, so there’s a good chance we’ve seen your exact setup before.
“We have used Velocity Solar twice in the last 2 years. Firstly, to install our 17kw solar system and Fronius inverters in August 2023, and then more recently to install a Sigenstor 40kWh Battery and EV AC charging port in October 2025. In all our interactions they have been super professional as they educated us on our options and the implications of our choices, they then turned up on time and we”
— Manifold, Manifold Heights (5★ Google review)
Still not talking to your Wi-Fi? Talk to a local Fronius-savvy team
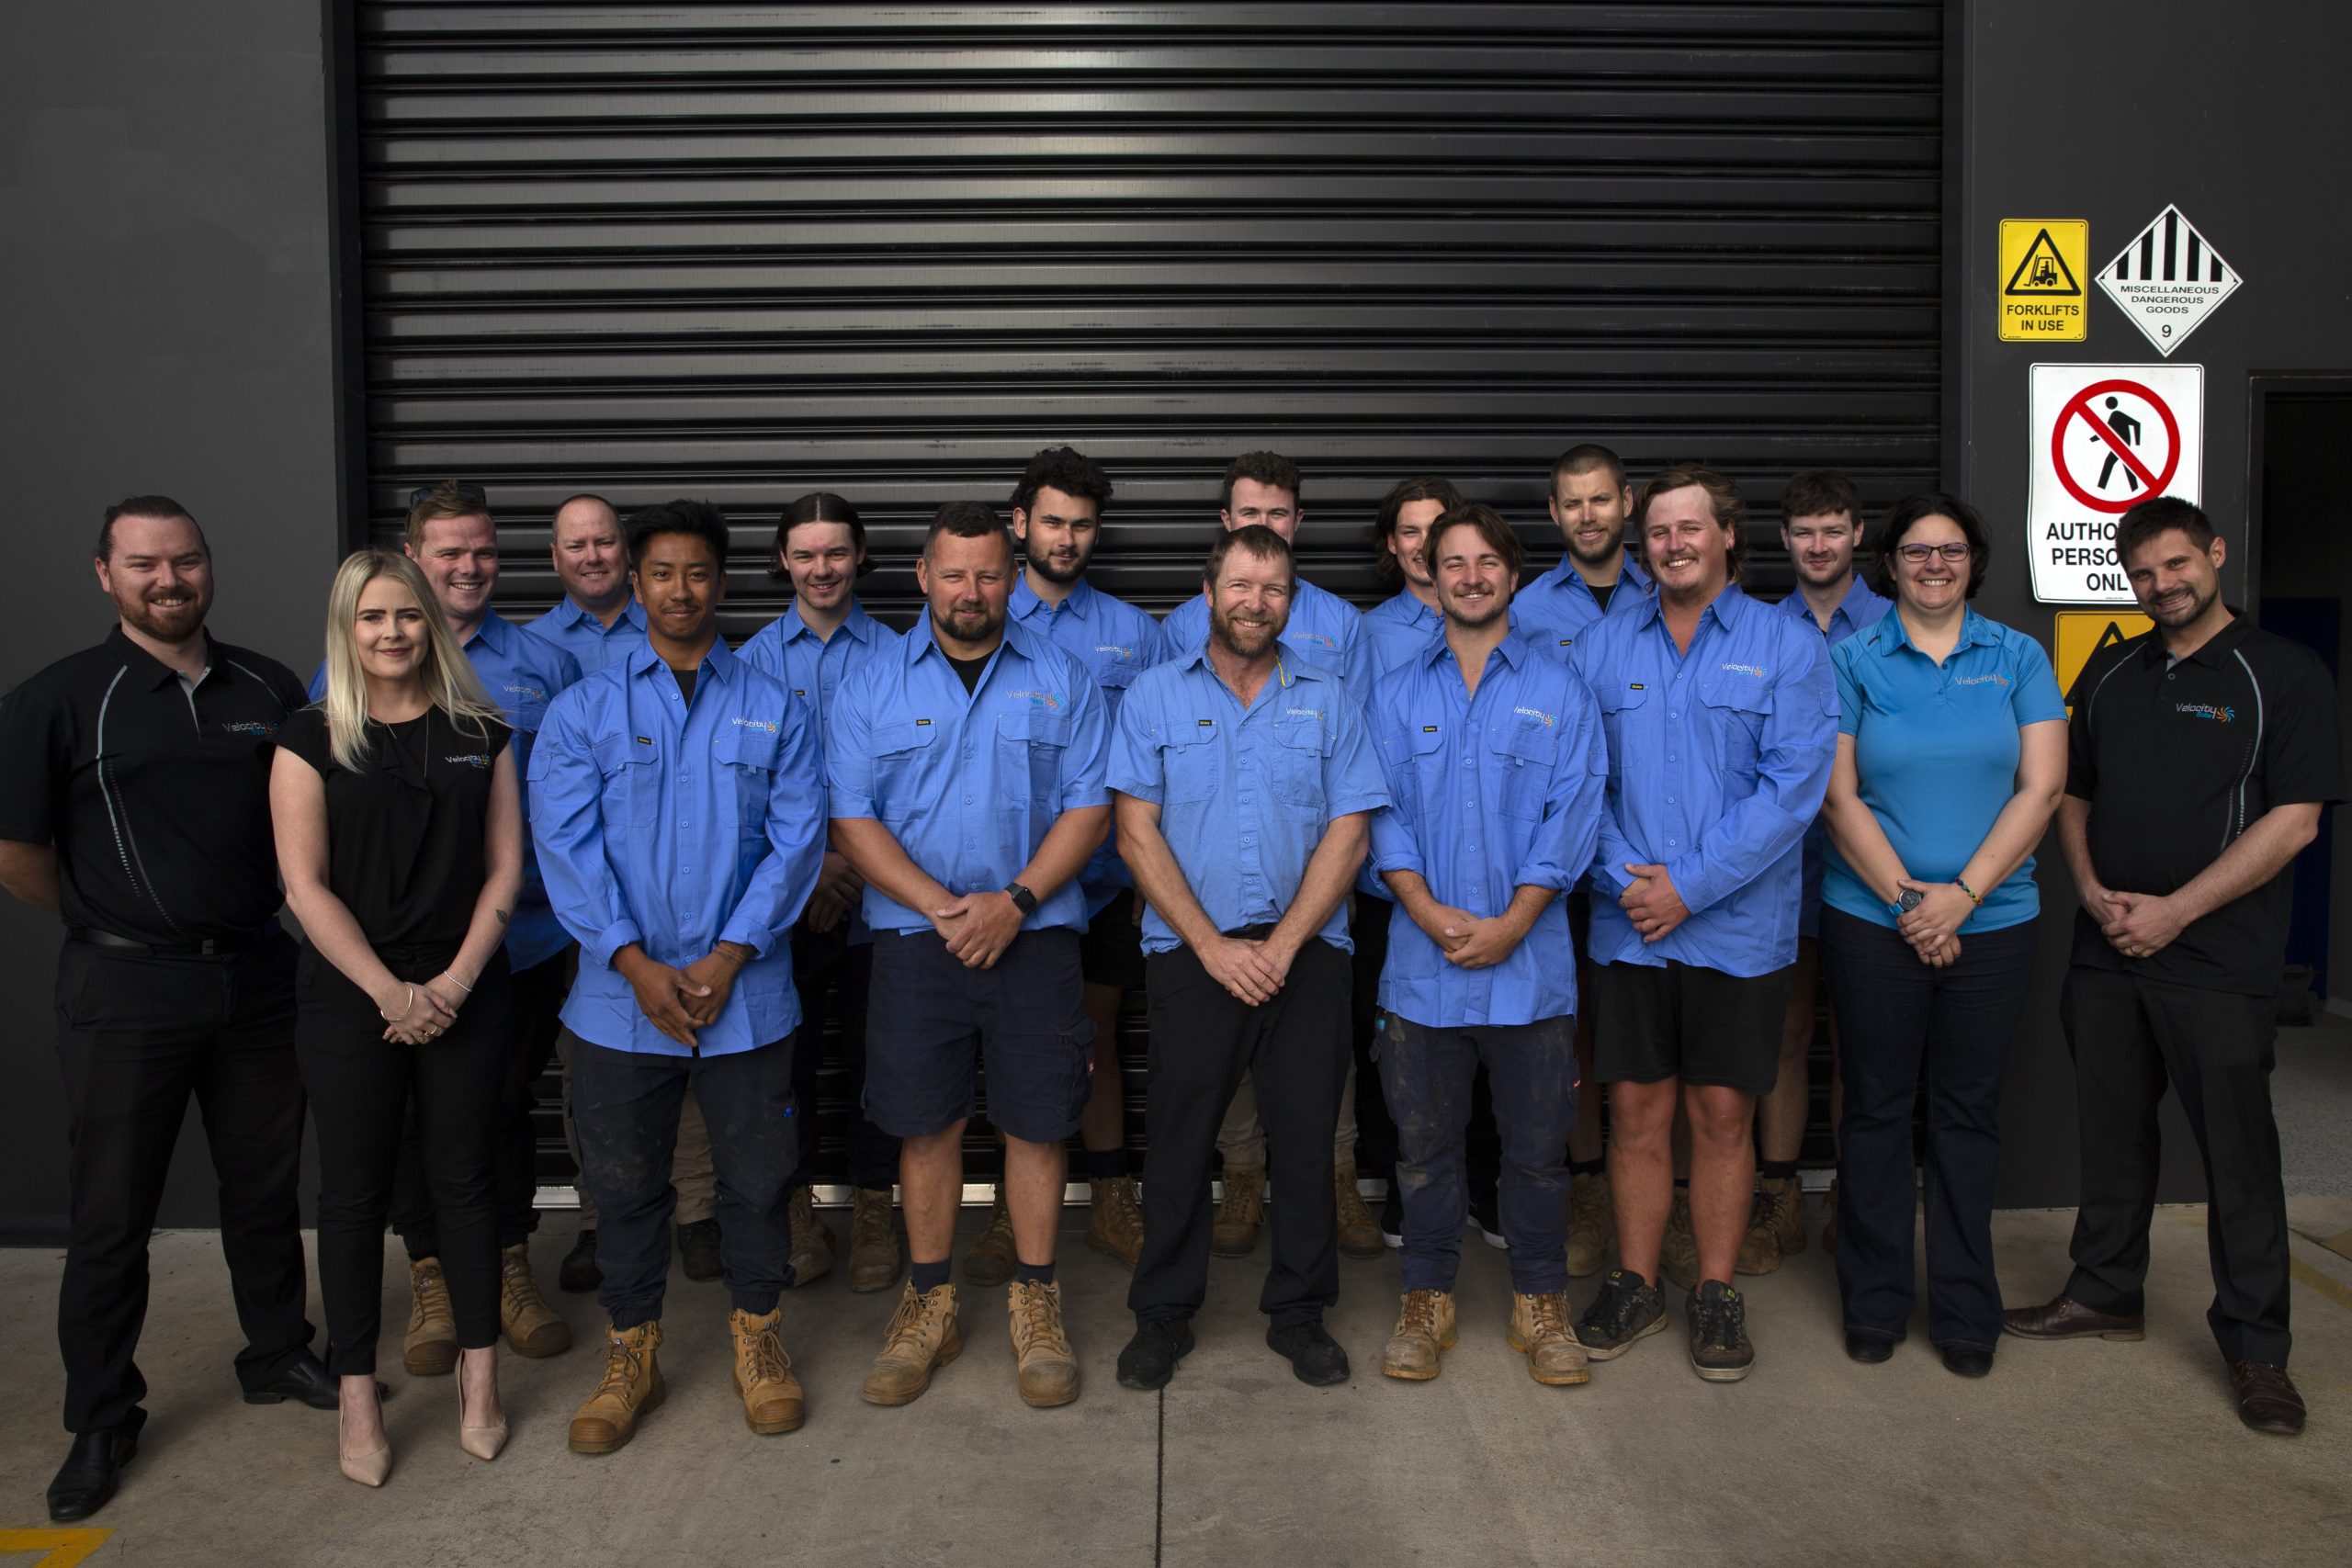
Velocity Solar is Geelong-based and owner-run, installing solar and batteries across Geelong, the Surf Coast and the Bellarine since 2011 — 1600+ systems, all completed by our own in-house crews.